Ultrasound probes • biopsy guides • repair assessment

PROBE REPAIR
Ultrasound Probe Repair Service: Assessed and Quoted by Model and Fault
Ultrasound probe repair isn’t one fixed service. Cable and harness damage, lens and acoustic-surface damage, connector faults, strain-relief wear, 3D/4D mechanical faults and TEE probe concerns each need a different inspection path and a different test scope. So what does Akicare need before quoting a probe repair service? The exact model, the host system it runs on, the reported fault, and clear photos. That’s it. From those four inputs the repair scope gets reviewed against what the specific fault actually requires, and where a fault falls outside what can be restored to a usable standard, it’s stated in writing rather than absorbed into an optimistic quotation.
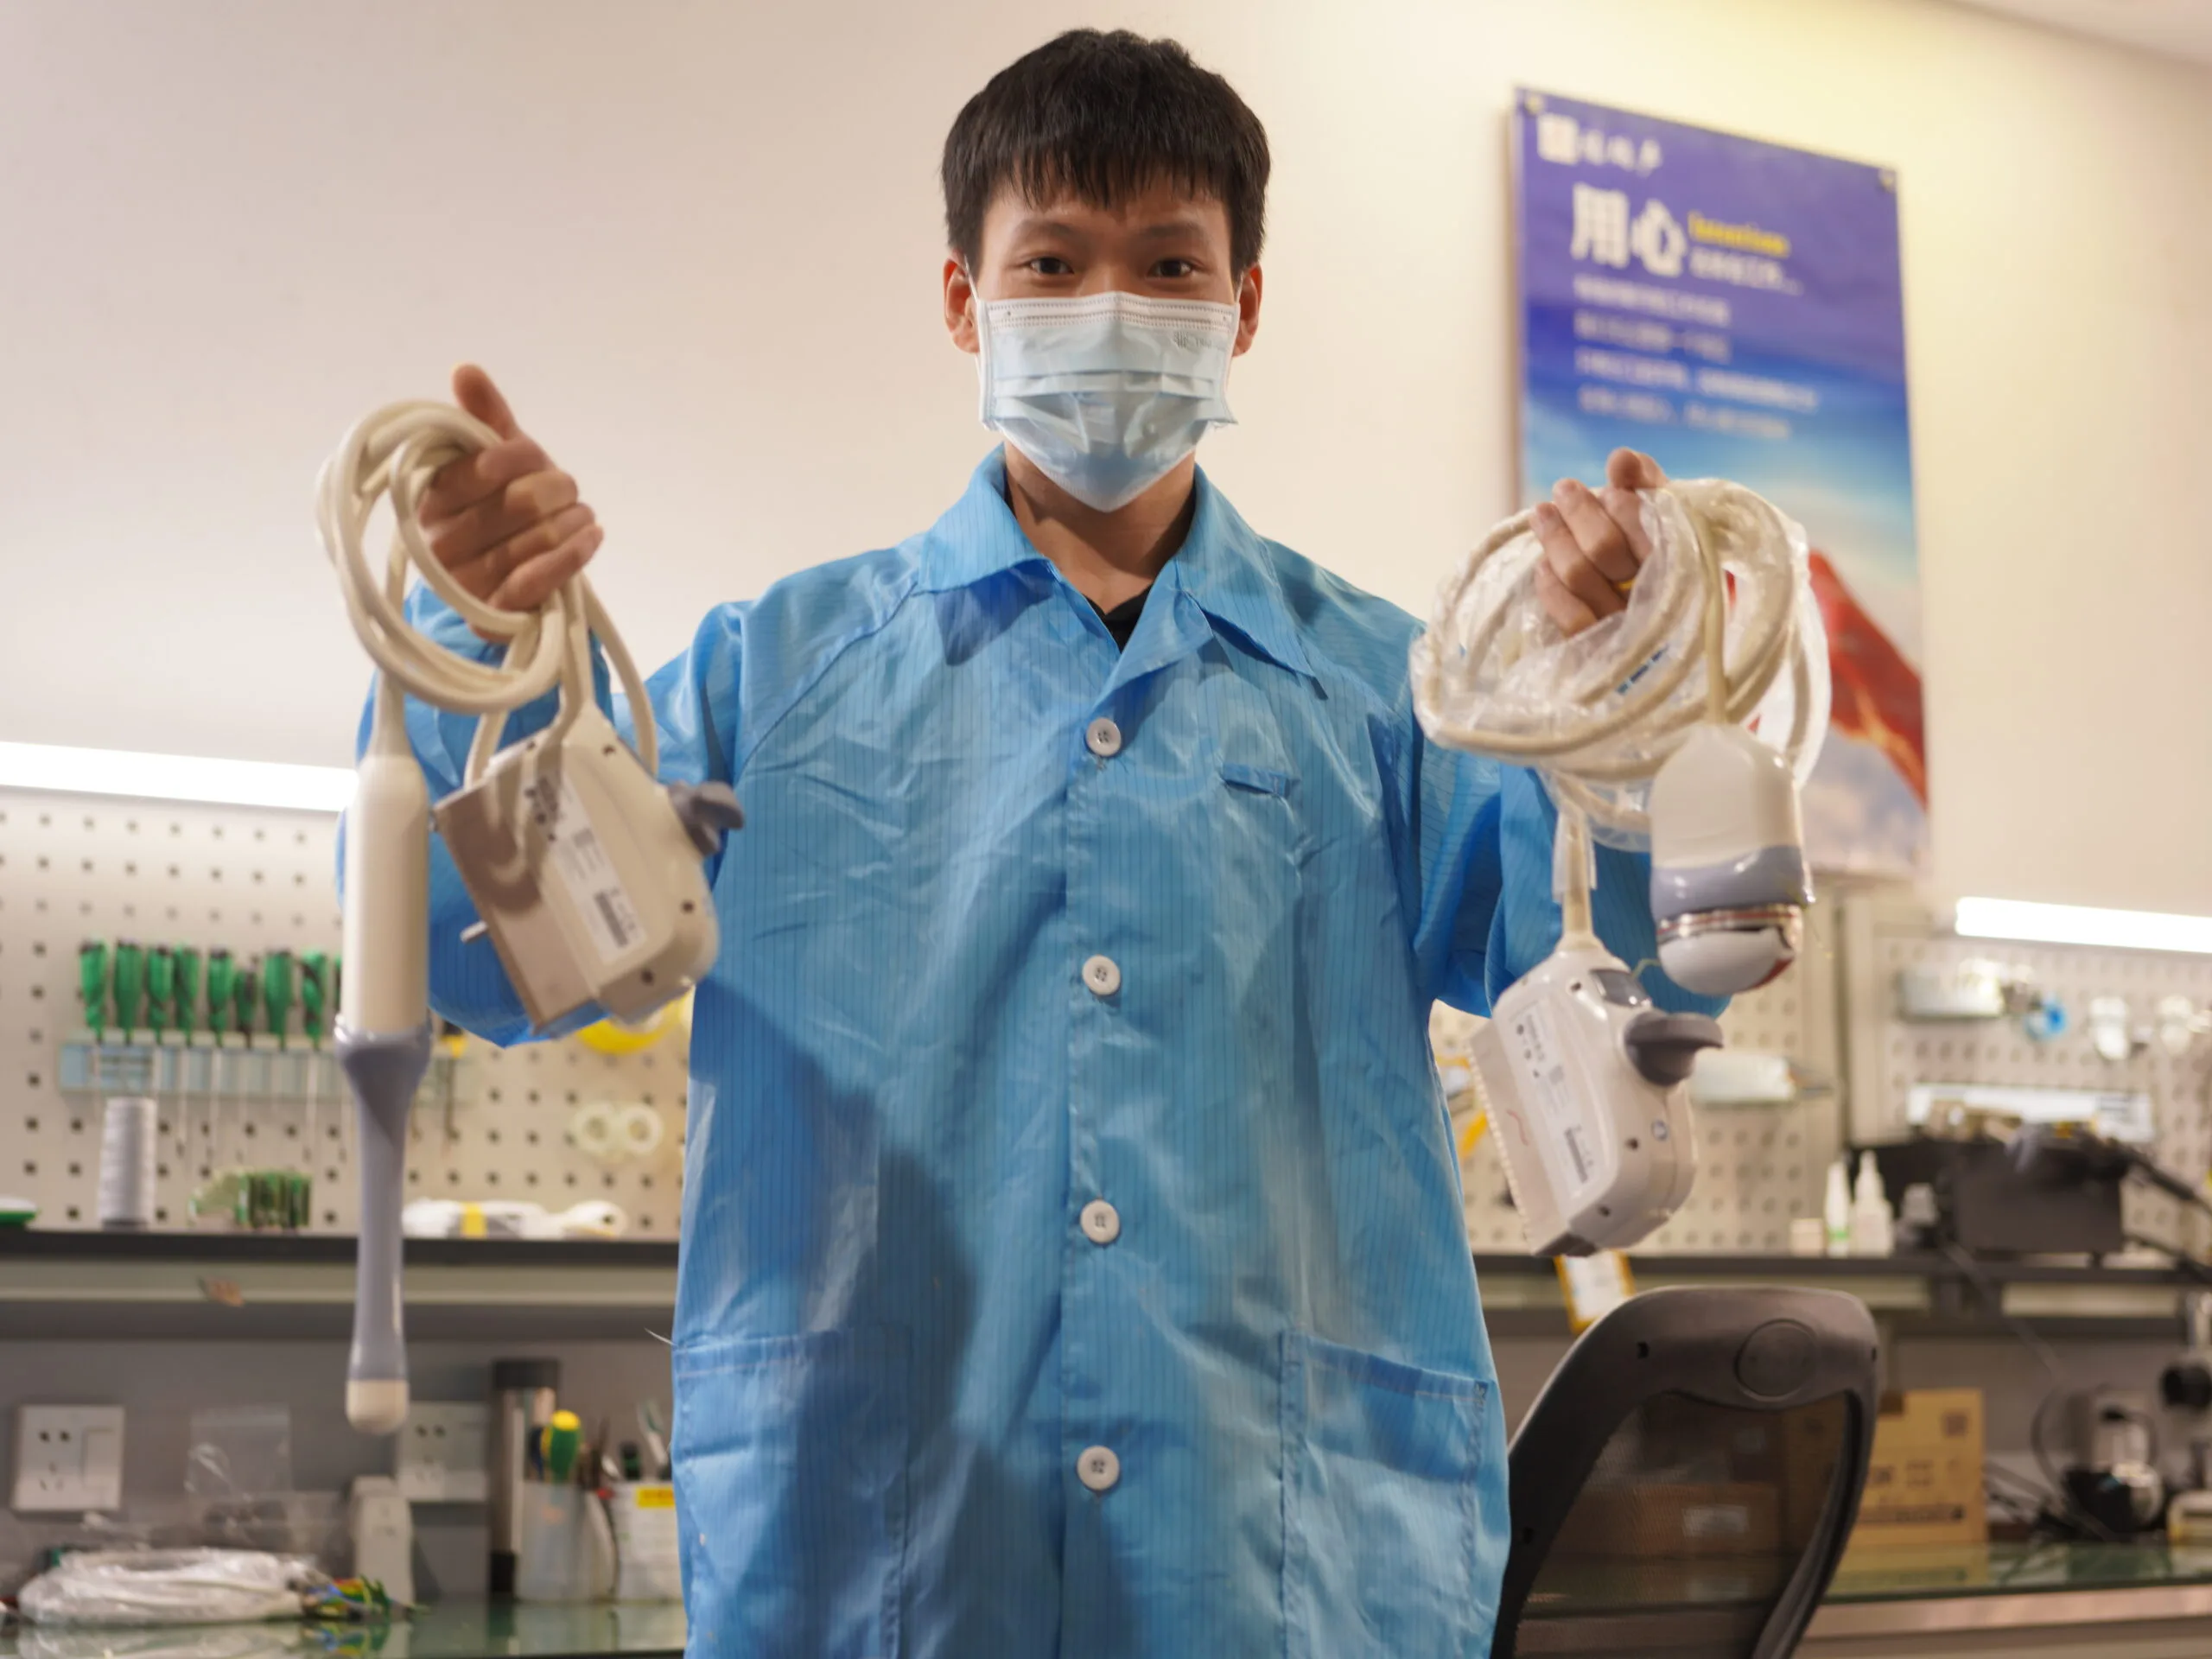
ASSESSMENT WORKFLOW
Four steps that keep the request tied to evidence.
Model details
Send the manufacturer, complete model and host system.
Reported fault
Describe the symptom, history and any prior work.
Photos
Include clear label, connector and visible-damage photos.
Quoted scope
Review the proposed scope, timing, testing and return shipping.
Ultrasound probe repair decisions, explained by fault and probe type.
An ultrasound probe repair request is not one fixed service. Cable or harness damage, lens or acoustic-surface damage, connector faults, strain-relief wear, 3D/4D mechanical faults and TEE probe concerns require different inspection boundaries. The exact probe model, host system and reported symptom determine what can be assessed. This page explains the information needed for an evidence-led review; it does not promise that every probe or fault is repairable.
What to record before requesting ultrasound probe repair
Start with the complete model from the probe label, the ultrasound system name and software or hardware variant when available. Photograph the label, connector, strain relief, cable, probe housing and acoustic surface in clear light. Describe when the fault occurs, whether it changes when the cable moves, and whether the same system behaves normally with another known probe. Do not dismantle the probe merely to provide more photographs. Use the ultrasound probe repair assessment checklist to assemble the model, condition and symptom record before shipping.
Common fault groups need different evidence
Image dropout, noise or intermittent lines can originate from more than one part of the probe-and-system path. Record the preset, connector position and whether the symptom is repeatable; this helps separate a useful intake description from a guessed diagnosis. Position-dependent faults may justify a cable or harness inspection, while visible cuts, exposed conductors or damaged strain relief should be photographed and kept out of clinical use according to the facility’s safety procedure. Lens, membrane or acoustic-surface damage also needs close photographs because cleaning chemicals, impact and wear can produce different visible conditions. Connector damage requires images of the full connector and contact area without forcing or reshaping pins.
A quotation should state the proposed inspection or repair scope, available post-repair checks, exclusions and return condition for that exact case. The guide on repair quality and test-scope evidence explains which questions are more useful than a generic “OEM quality” label.
Specialised probes require a narrower assessment boundary
Motorised 3D/4D probes can involve image, cable and mechanical symptoms, so the intake should record whether movement, sound or volume acquisition changed and should avoid assuming a motor failure. Review the 3D/4D probe pre-service assessment before transport. TEE probes are safety-critical devices with model-specific handling, leakage and reprocessing requirements. A website cannot replace the manufacturer’s instructions for use or the healthcare facility’s electrical-safety and infection-control procedures. Use the TEE probe repair pre-shipping checklist to identify the documents and questions that belong in the service record.
Use model-specific repair checklists for brand and system identity
Brand families often contain similar model names, connector generations and system variants. The label and connector must therefore be checked before assuming compatibility or repair scope. Akicare maintains separate identification guides for Toshiba and Canon ultrasound probes, Philips probe models and connectors, and Aloka and Hitachi Aloka probes. These pages organise the identification questions; the final written assessment still belongs to the exact unit submitted.
Cost, turnaround and repair-versus-replacement are case decisions
Ultrasound probe repair cost cannot be calculated reliably from the model name alone. Fault location, parts availability, prior repair history, contamination status, required tests, shipping and the agreed service boundary can all change the quotation. The nine repair quote factors show what should be confirmed before comparing prices. Turnaround also starts after the unit and required information are available, not when a generic enquiry is sent; see the repair turnaround input guide.
Repair is not automatically the best choice. Consider the host system’s remaining service life, availability of a verified replacement, recurrence risk, clinical use, downtime and the evidence supplied after service. The repair-or-replacement decision checklist provides a consistent comparison. Organisations sending several probes can also use the batch intake and reporting guide to keep each serialised unit, condition record and quotation separate.
What the written repair assessment should confirm
The response should identify the probe and host system under review, repeat the reported fault, state the inspection or service scope being offered, list important exclusions, and confirm timing, return shipping and commercial terms for that case. If the available evidence is insufficient, the correct next step is to request clearer information rather than invent a diagnosis or fixed promise. When those details are ready, use the repair assessment form below and attach or offer the relevant photographs.
BEFORE SHIPPING
Confirm the assessment boundary in writing.
- The exact probe and reported fault
- The inspection or test scope offered
- Expected timing for the specific case
- Return-shipping and service terms
Request a repair assessment
Use the model field for the probe and host system; describe the fault in the requirement field.